
Products
Every partition is five decisions
Explore the line the way a specification is written: material first, then mounting style and door style, then the edge profile and hardware that finish each stall.
Materials
Material Decides What Follows
Look, durability, and budget start here, and so do the mounting and door options that stay open downstream.
- High Pressure Laminate (HPL)High Pressure Laminate (HPL) pairs a decorative laminate surface with a wood core and offers the widest selection of colors and patterns.
- Compact Laminate (CPL)Compact Laminate combines a decorative surface with solid phenolic construction for wet areas and demanding use.
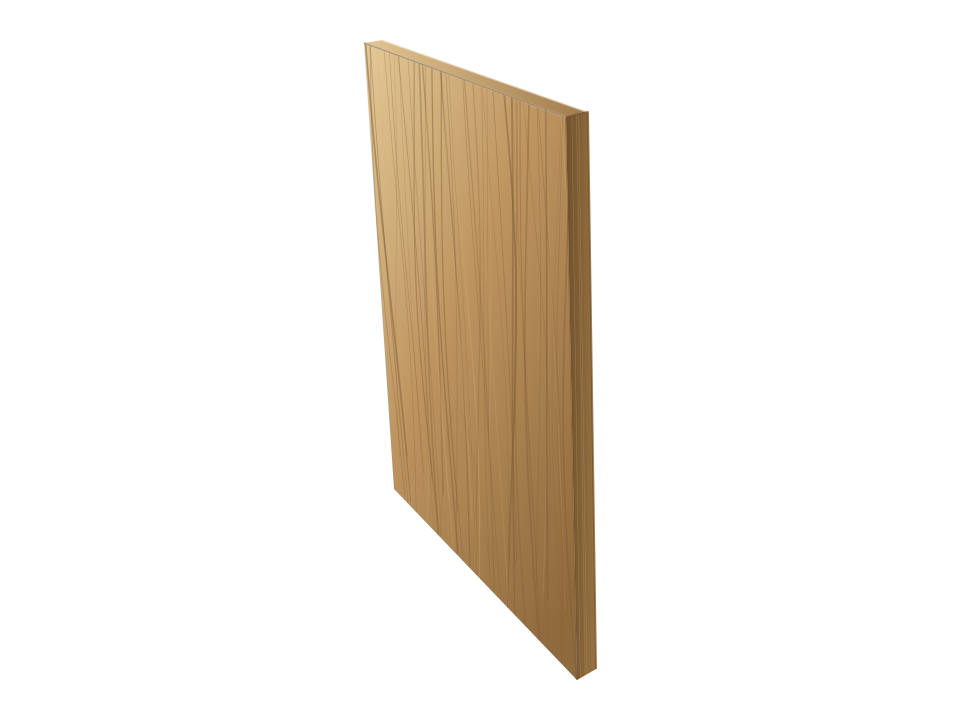
- Wood VeneerWood Veneer brings the grain, figure, and stain-matched finish of real hardwood to restroom partitions in interior, climate-controlled spaces.
- Solid SurfaceSolid Surface brings a non-porous surface that can be refinished in place to commercial restrooms where hygiene and long-term appearance matter.
- Engineered StoneEngineered Stone, often referred to as quartz, is a polished, non-porous material for panels and pilasters, typically paired with doors in another material.
- Budget
- $$
- Lead Time
- 6 Weeks
- Warranty
- 5 Years
Mounting Styles
How the Partition Meets the Building
Each mounting style anchors the stall differently, changing its connections, stability, maintenance, and sightlines.

Headrail Braced (HRB)
Headrail Braced anchors pilasters to the floor and connects their tops to adjacent walls with a headrail for lateral stability.
- Top Connection
- Headrail
- Bottom Connection
- Plate and Shoe
- Best When
- Cost, speed, and proven stability lead the spec
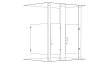
Floor to Ceiling (FTC)
Floor to Ceiling anchors pilasters at both the floor and ceiling for stability without an overhead headrail.
- Top Connection
- Plate and Shoe
- Bottom Connection
- Plate and Shoe
- Best When
- Privacy leads and the ceiling can take attachment

European
European combines a headrail with adjustable floor pedestals, providing lateral support without a ceiling connection.
- Top Connection
- Headrail
- Bottom Connection
- Pedestal
- Best When
- Design-forward work wants flush faces and full-height doors

Floor Mount (FM)
Floor Mount anchors pilasters to the floor with concealed mounting bars, leaving the space above the partitions open.
- Top Connection
- (None)
- Bottom Connection
- Mounting Bar
- Best When
- Open plenums or low ceilings rule out overhead bracing
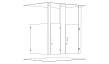
Ceiling Hung (CH)
Ceiling Hung suspends pilasters from structural support above the ceiling, leaving the floor free of partition anchors.
- Top Connection
- Mounting Bar
- Bottom Connection
- (None)
- Best When
- Floors must stay completely clear for daily cleaning
Door Styles
The Door Carries the Design
Standard faces and specialty statements for the same swing, from the quiet default to engraved and inlaid work.
 Flat PanelSlab face, matched to the partition material
 Captured PanelStile and rail frame around a captured face
 Door LiteStile and rail carrying a glazed lite
 LouverStile and rail with ventilating slats
 Applied MoldingMilled profiles applied to the door face
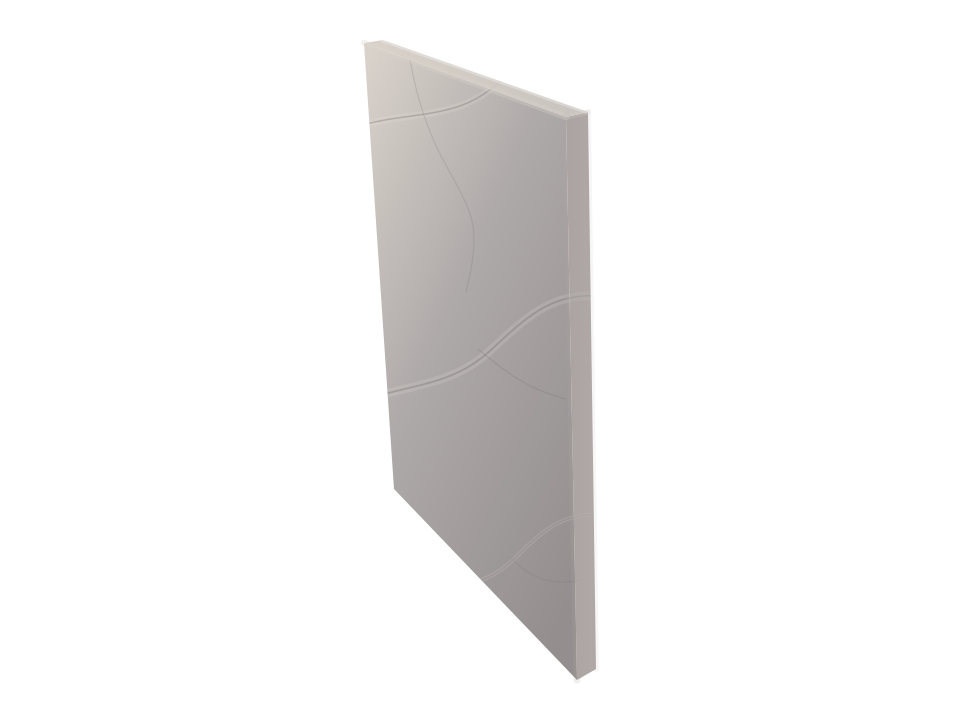
 EngravingPattern machined into the face
 InlayInset accent material, flush to the face
 Barn XApplied moldings in an X for a rustic barn-door read
Edge Profiles
Where the Door Meets the Pilaster
One edge profile runs through the whole project and decides whether a narrow gap or a lap joint sits beside each closed door.
Flat Edge
Square door and pilaster edges with hinge and strike clearance setting the gap, available on every Ironwood material and hinge type.
View Flat EdgeDetail Value Hinge edge Square on every hinge type Cost Standard 
Zero Sightline (ZSL)
Zero Sightline rabbets the mating edges of doors and pilasters so the closed door overlaps the pilaster in a lap joint, closing the sightline at the door edge.
View Zero Sightline (ZSL)Detail Value Hinge edge Laps on surface-mount and vault hinges; material conditions apply Cost Above Flat Edge 
Hardware
One Set for Every Stall
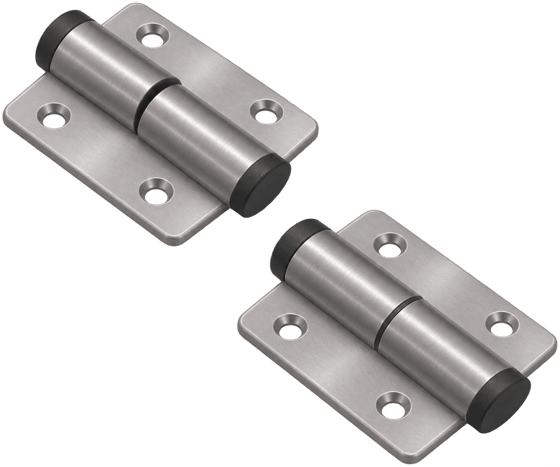
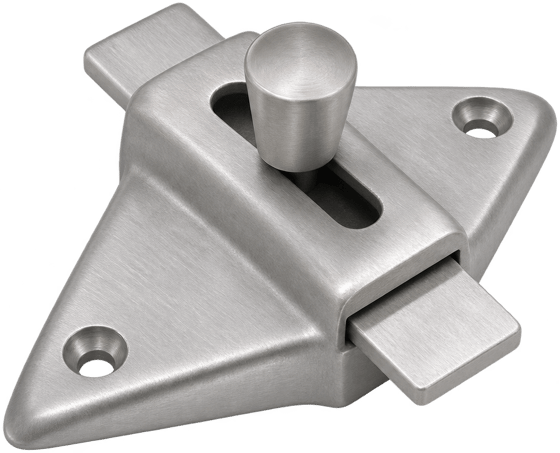
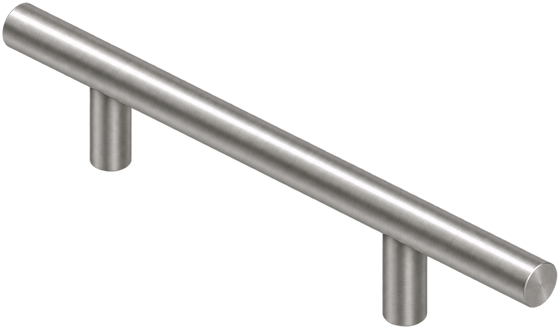
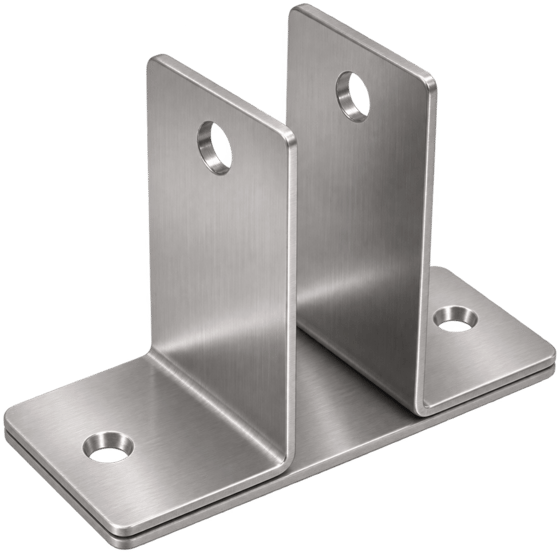
Four hardware choices fit out each stall: how the door hinges, latches, and opens, and how the panels connect to the walls and pilasters.
The System
Five Decisions, Multiplied
Every combination in the standard catalog is already drawn, dimensioned, and ready to drop into a spec.
360standard configurations, drawn and dimensioned


Beyond the Five
Build It Out
The patterns, numbered models, and custom work that complete a specification.
Where to Next
Find Your Path
Whatever the decision needs next: a sample in hand, a specialist on the line, or the Spec Builder open.
Request Samples
Physical swatches for presentations and finish boards.
Talk to a Specialist
When project requirements pull in different directions, a specialist can help sort out the trade-offs.
Open the Spec Builder
Assemble all five decisions into a numbered model with its full specification.