
Floor to Ceiling Partitions
Design with Floor to Ceiling
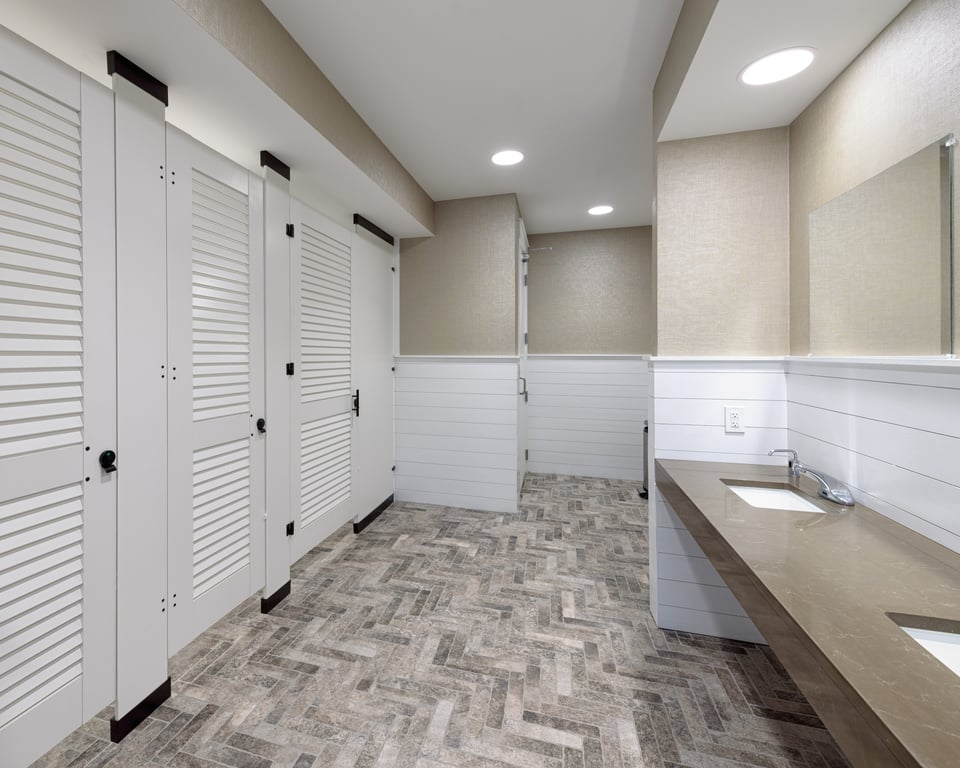
Floor to Ceiling provides stability through floor and ceiling connections and supports full-height privacy configurations without an overhead headrail.
Definition
What is Floor to Ceiling?
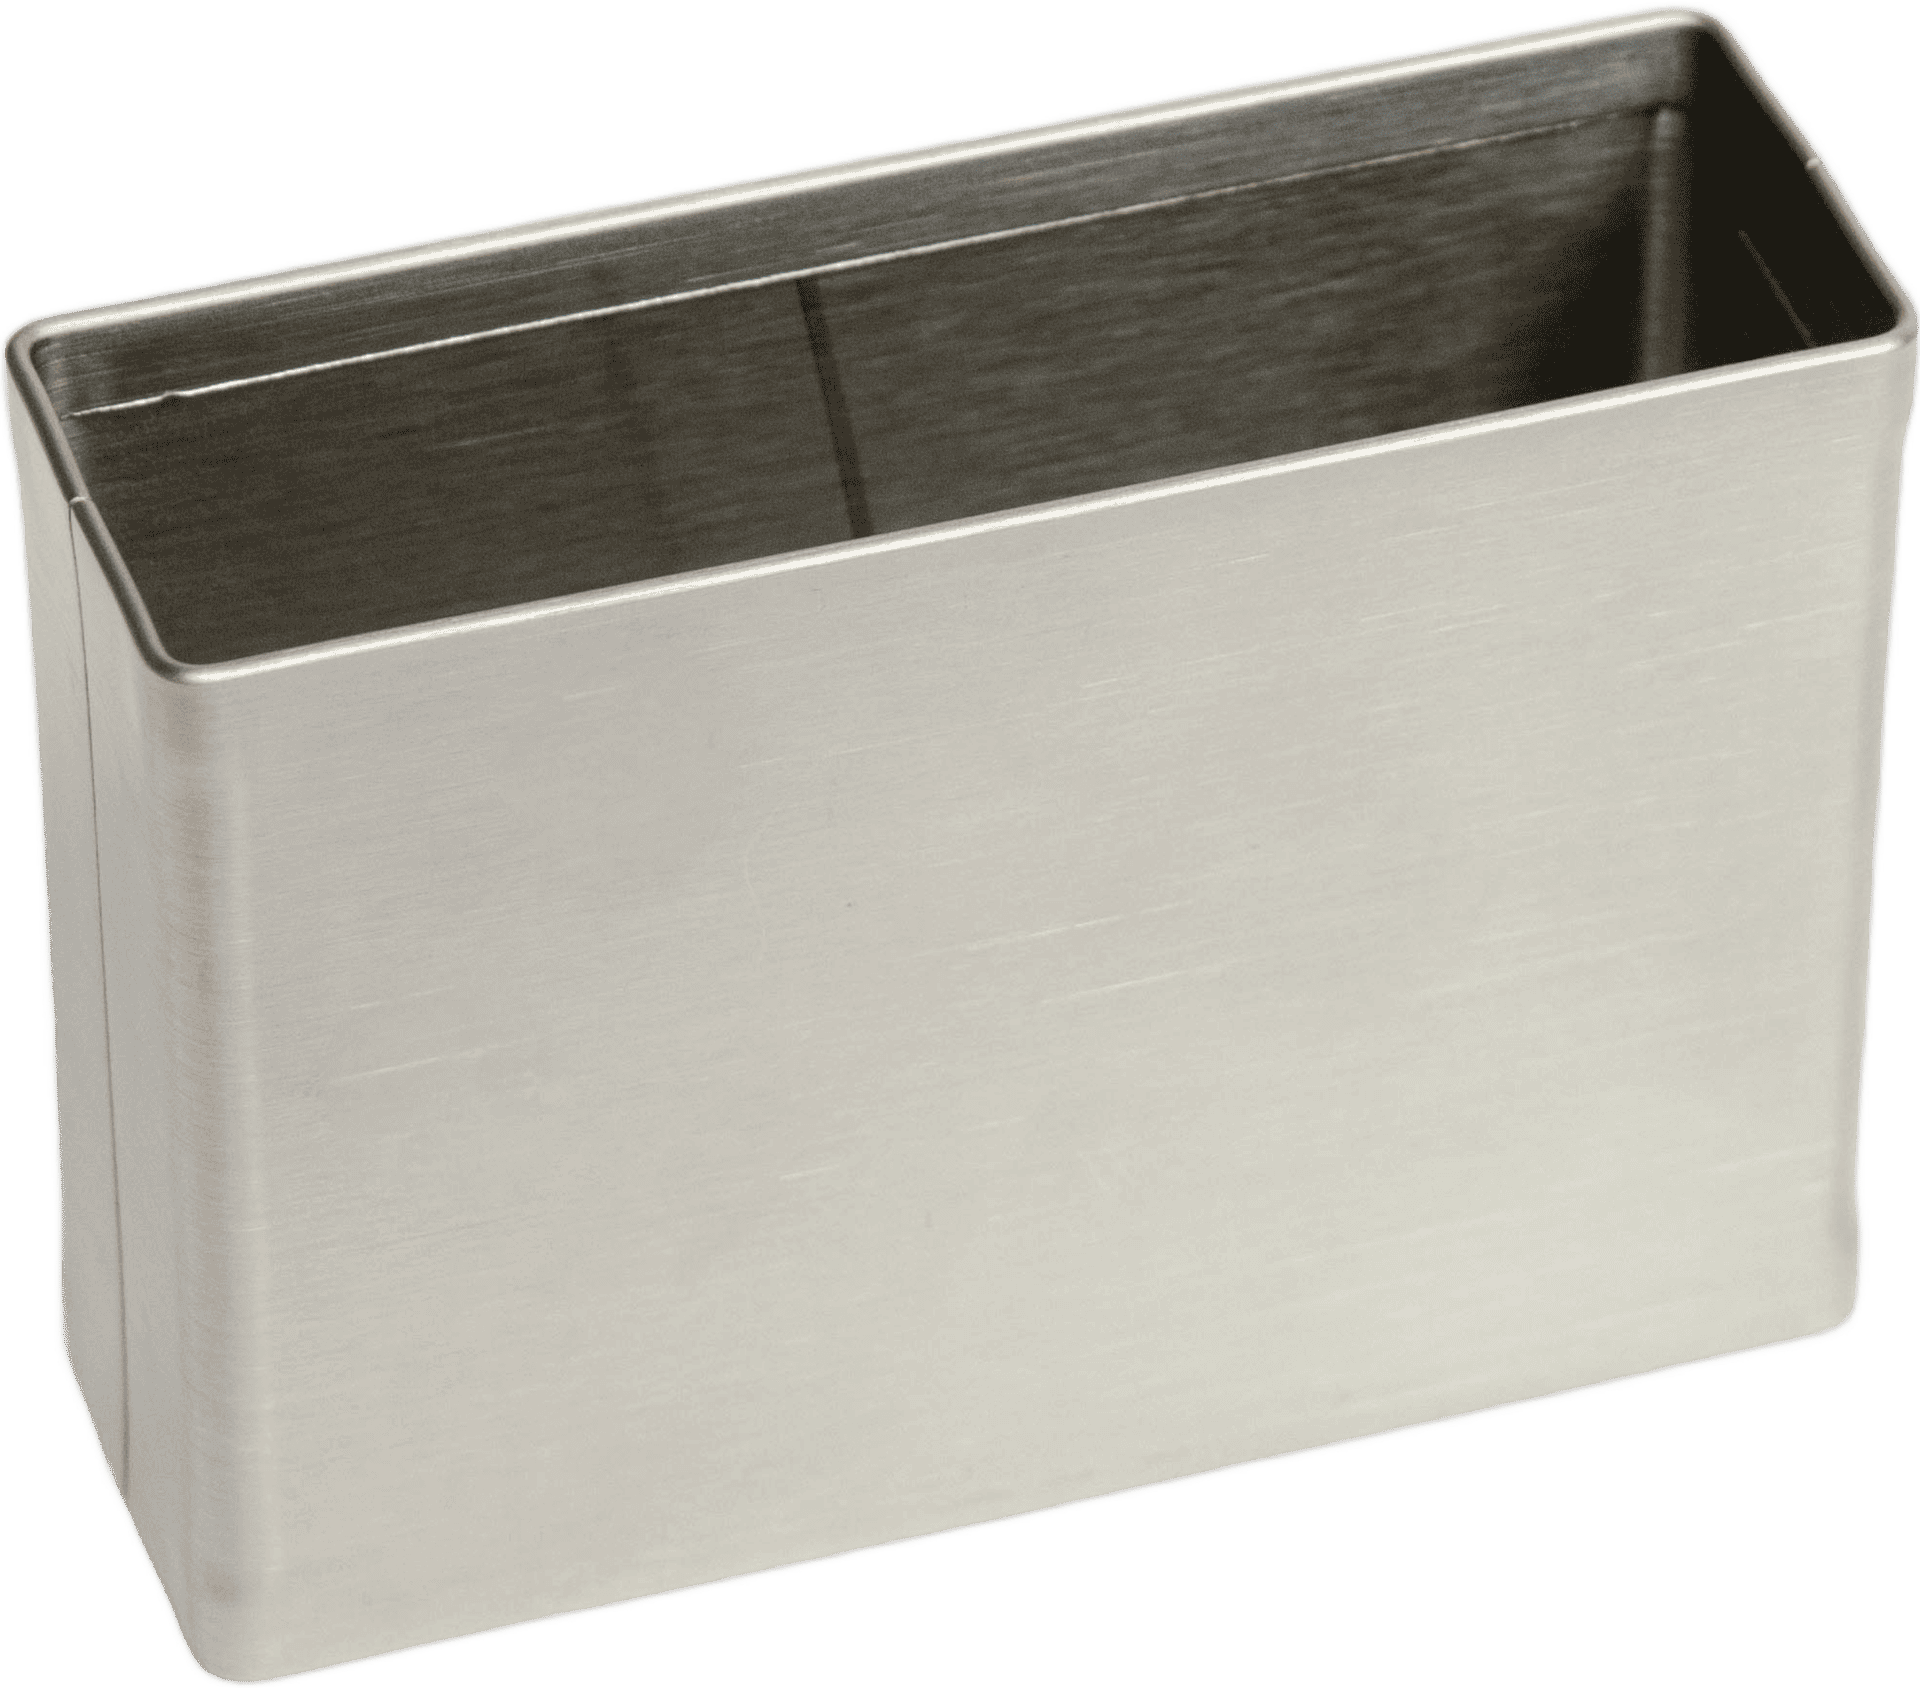
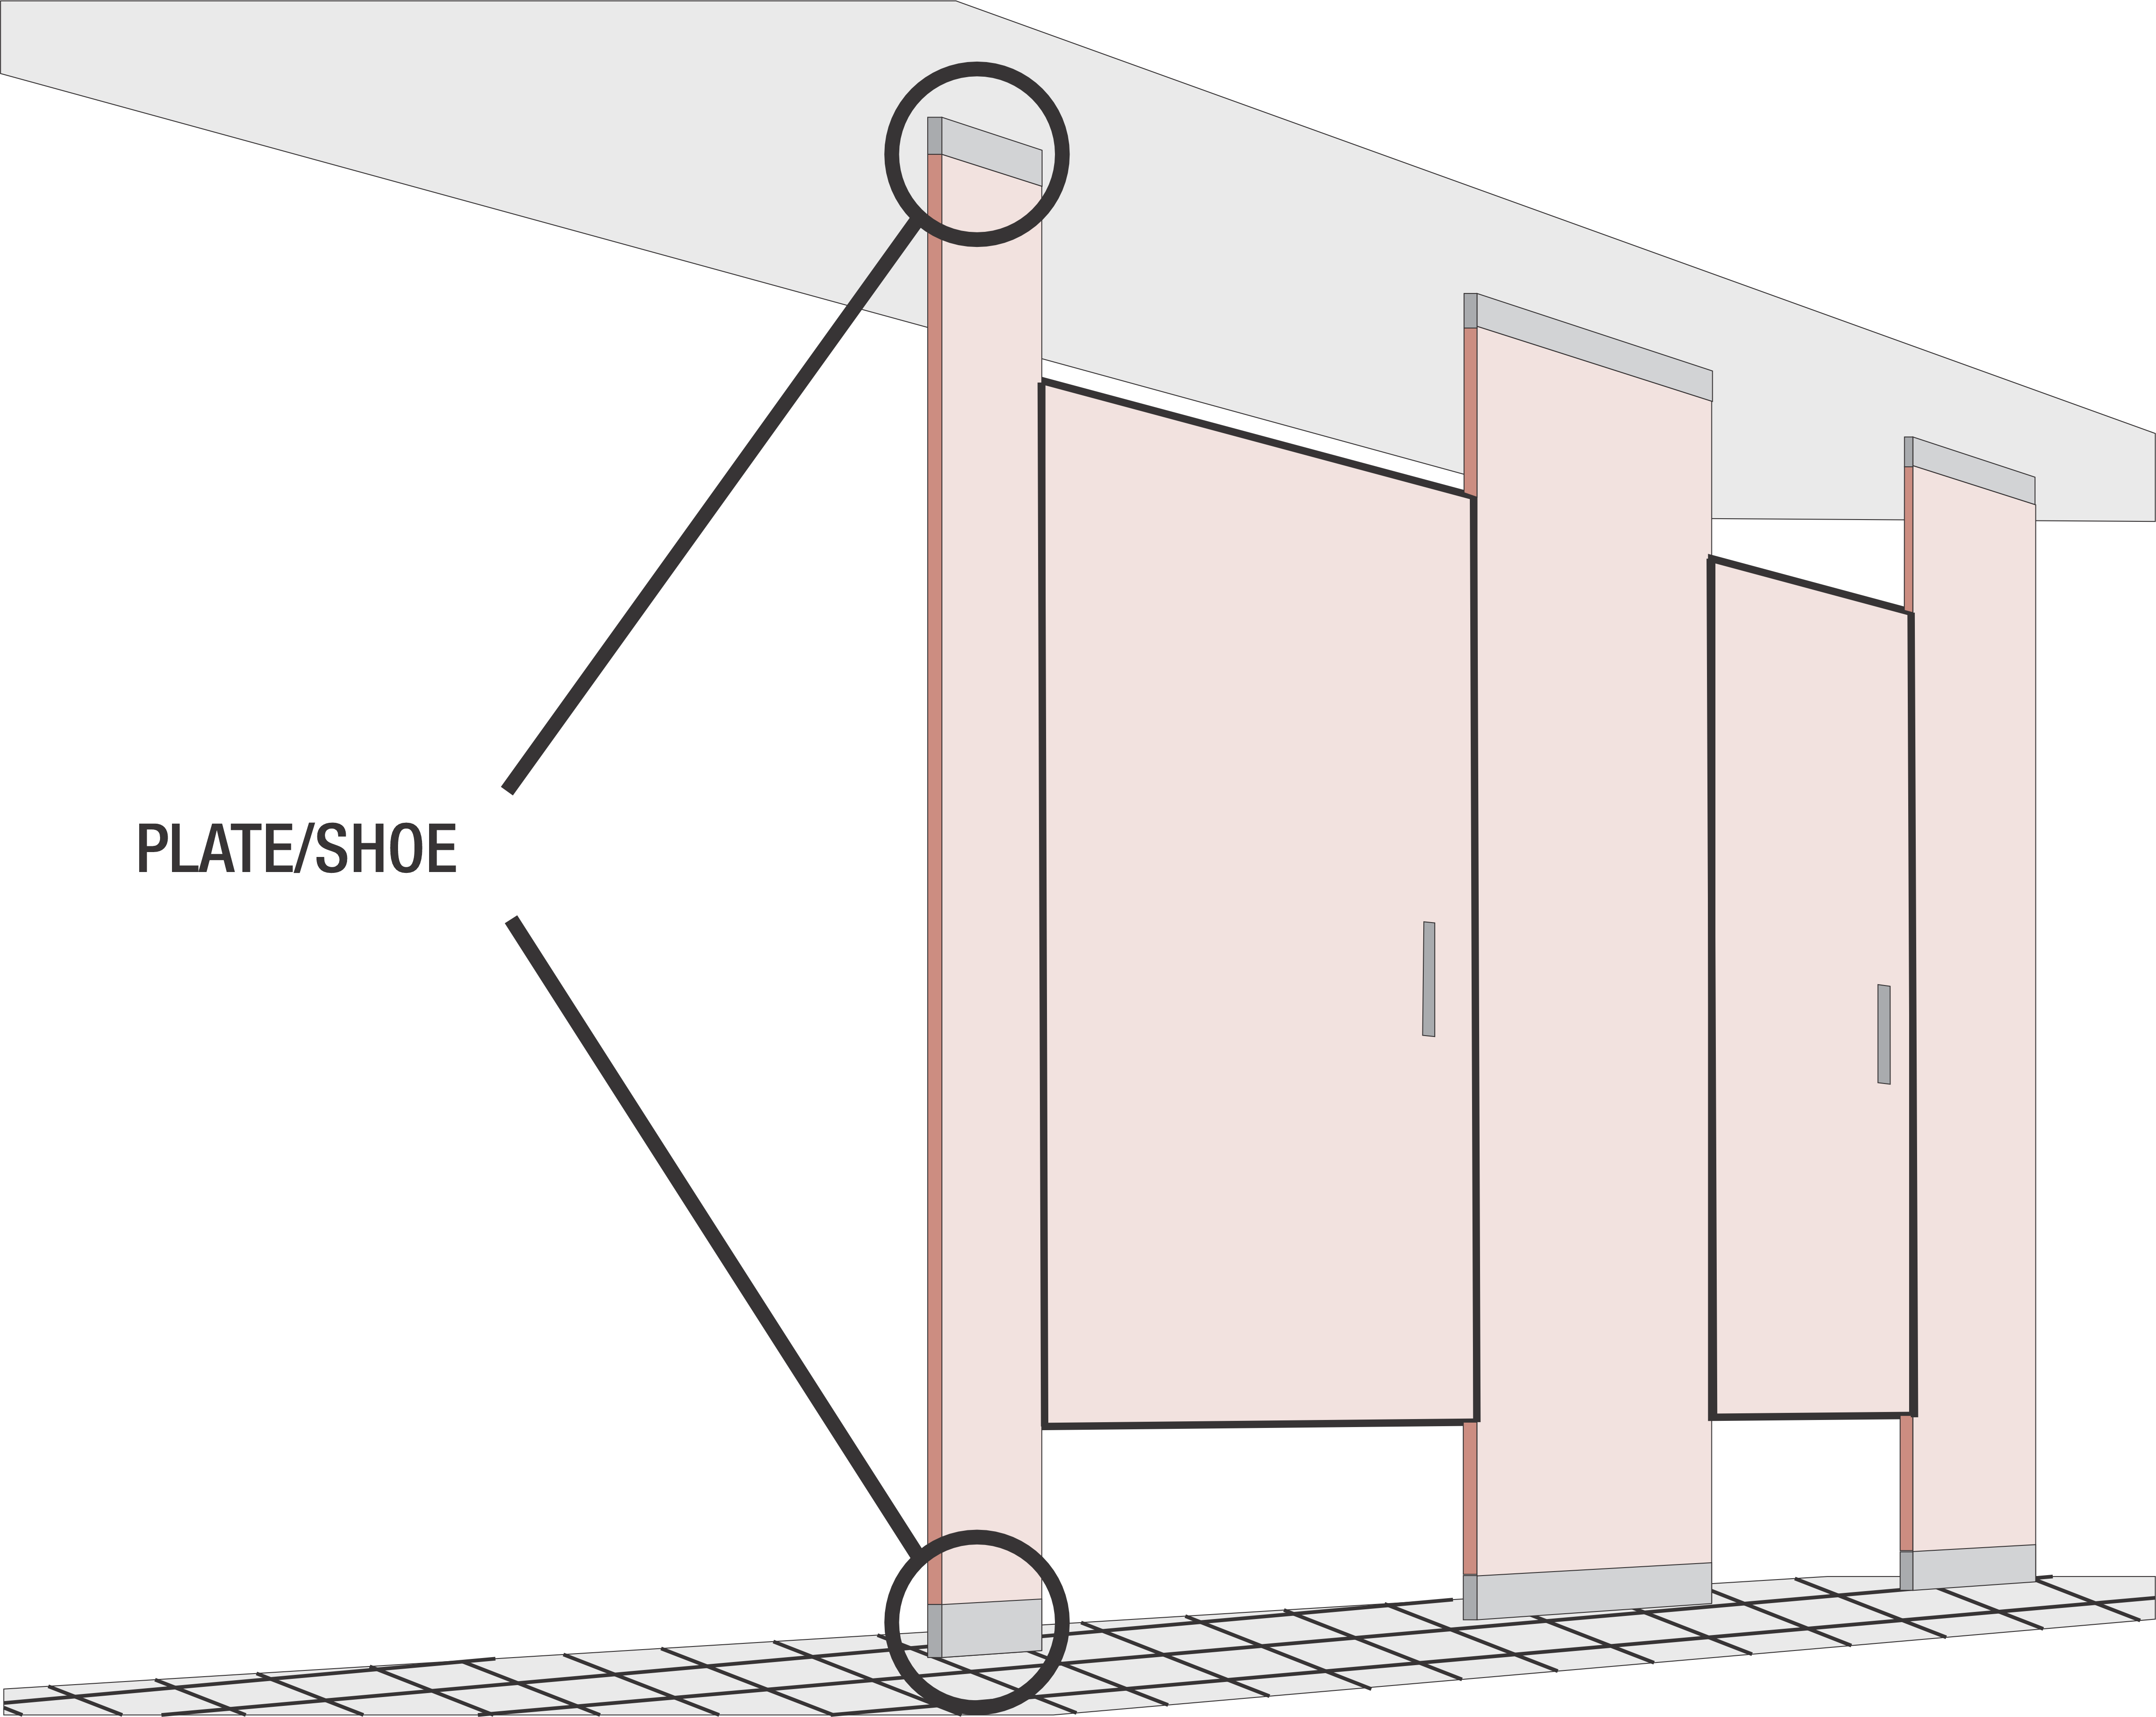
Floor to Ceiling anchors each pilaster to the building structure at both the floor and ceiling. Mounting plates concealed by shoes are the standard connections. L brackets and pedestals are alternatives at either end. The two connections provide lateral stability without a headrail; door and panel heights remain separate configuration choices.
Compatibility
What Works with Floor to Ceiling
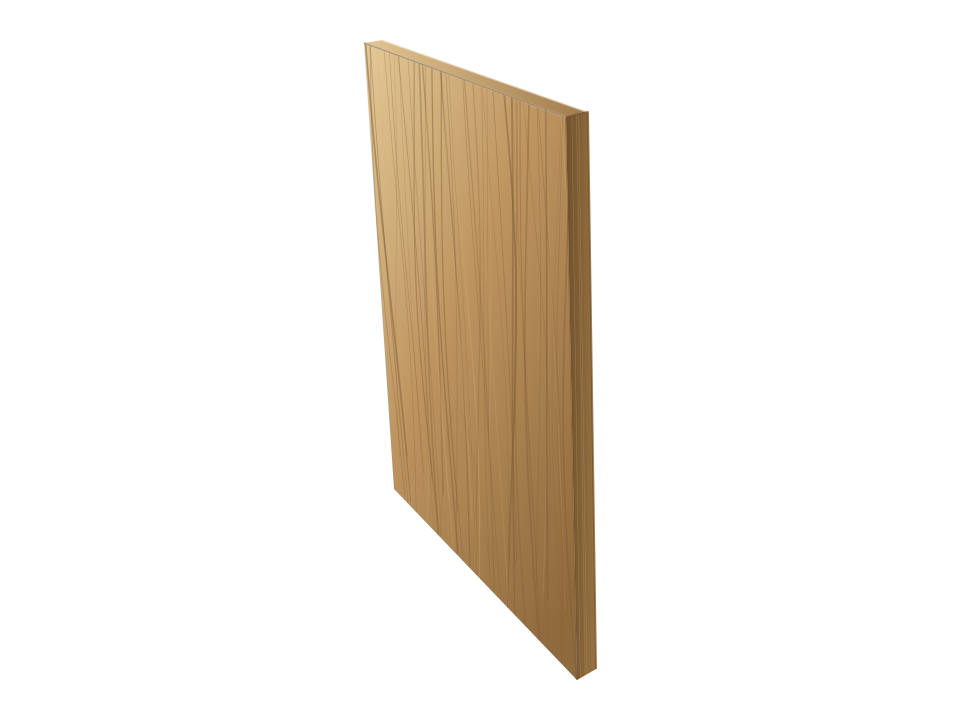
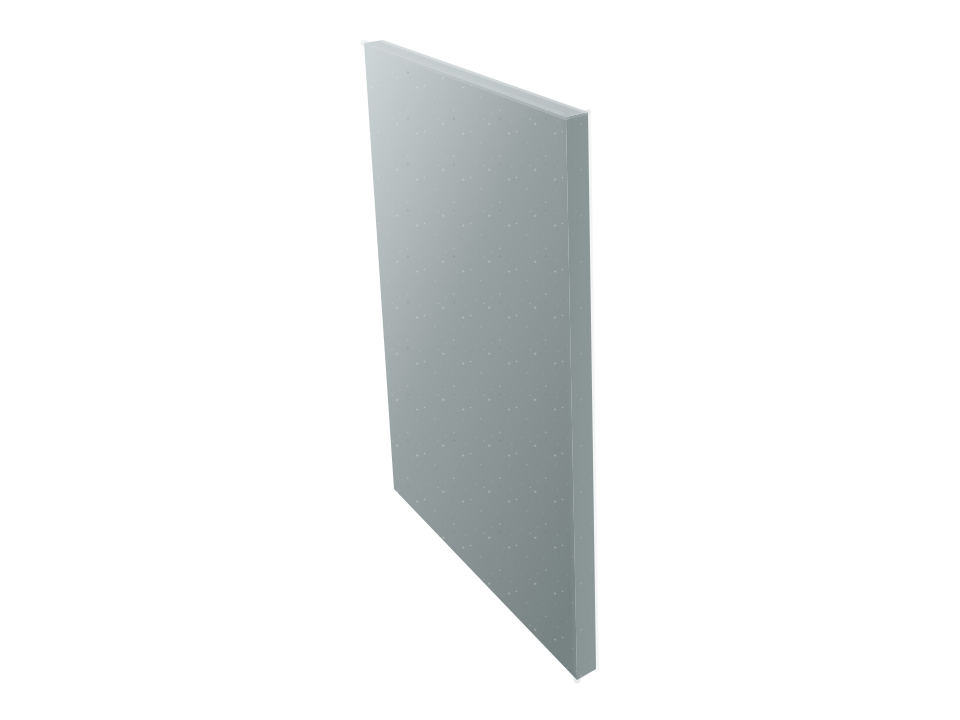
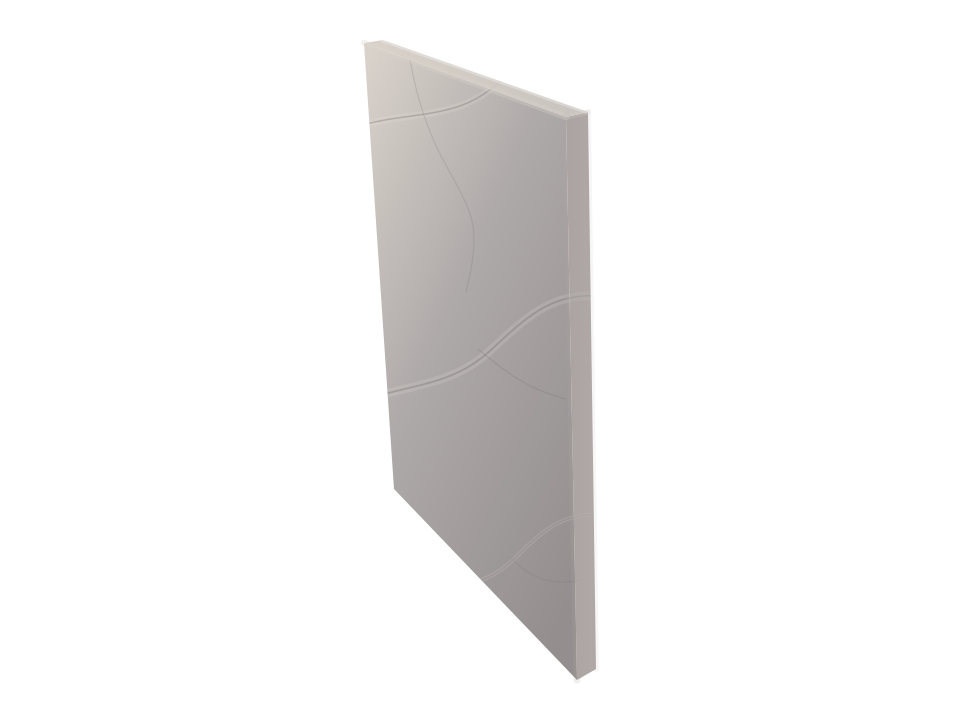
Floor to Ceiling supports all five catalog materials. Available door styles and heights depend on the selected door material and hardware. Engineered Stone installations use doors in another compatible material.



Mounting Selection
Why Choose Floor to Ceiling
Floor to Ceiling anchors pilasters at both ends for stability without an overhead headrail. The strengths and considerations below show where it fits and what the ceiling must support.
Strengths
Floor to Ceiling anchors pilasters at both ends for lateral stability. The ceiling connection removes the need for a standard overhead headrail.
Floor to Ceiling supports taller doors and panels, transoms, and compatible Zero Sightline construction. These choices can reduce gaps and create a more enclosed compartment.
Floor to Ceiling accepts plates and shoes, L brackets, or pedestals at the connections. Each option changes the visible hardware and available installation adjustment.
Considerations
Floor to Ceiling requires ceiling backing connected to the building structure. Backing locations need coordination before ceiling closure.
Tall pilasters in a Floor to Ceiling layout may need additional support where no perpendicular panel or wall limits flex. Material dimensions and layout must be considered together.
Deeper Dive
Floor to Ceiling Insights
Hardware appearance and adjustment
Top and bottom hardware can be chosen independently
Plates concealed by shoes are the standard top and bottom connections. Floor connections can provide leveling adjustment; Engineered Stone uses external leveler blocks concealed by shoes. L brackets reduce visible hardware but provide no leveling adjustment. When used at both ends, they require field fitting. Pedestals offer another adjustable connection, and the top and bottom hardware can be selected independently.
Backing and installation sequence
The top connection needs structural backing
Floor to Ceiling requires a hard-lid ceiling with solid backing connected to the building structure. Structurally anchored wood blocking is acceptable. Backing locations should be coordinated with the partition layout before the ceiling closes. Correcting misplaced or missing backing afterward can require opening the finished ceiling.
Unsupported spans and field dimensions
Tall pilasters need a support review
Long pilasters can flex under door movement when no perpendicular panel or wall supports them. A return headrail or an aluminum post can add rigidity in these layouts. Material availability, component dimensions, and connection details must be checked together for taller installations. Measure the ceiling at each pilaster location; installation adjustment cannot accommodate every variation.
Enclosure and material exposure
Mounting supports the enclosure and material governs exposure
Floor to Ceiling supports full-height privacy configurations, but door and panel clearances still depend on material, hardware, and accessibility requirements. Transoms can extend coverage above doors. Zero Sightline availability depends on the selected edge and hinge combination; continuous geared hinges support it on the strike side only.
For shower compartments, the mounting style supplies stability while suitable materials and hardware address water exposure. High Pressure Laminate and Wood Veneer are not suitable for direct shower exposure, and Wood Veneer is not recommended in high humidity.
The Process
How to Specify Ironwood
A complete Ironwood specification in three steps.
Open the Spec Builder
A few guided choices turn your design intent into an exact Ironwood model number.
Download Your Spec Package
A CSI spec, cut sheet, and technical data are generated instantly for your exact model.
Send It or Ask Us Anything
Call 360-568-1823 or email specs@ironwood-mfg.com. Our specialists walk projects end-to-end.
What You Walk Away With
- CSI Spec
- Cut Sheet
- Technical Data
Common questions about Floor to Ceiling

Cannot find the answer you are looking for? Our specialists are happy to walk projects end-to-end.
Contact UsNo. Floor to Ceiling describes the pilaster connections. Door and panel dimensions retain the clearances required by the material, hardware, and accessible layout. Transoms can provide coverage above doors where their permitted height leaves an overhead gap.
- Yes. Floor to Ceiling is the preferred mounting for shower compartments, provided the partitions are built in a material suited to direct water: Compact Laminate, Solid Surface, or Engineered Stone. Engineered Stone compartments use Compact Laminate or Solid Surface doors. The shower partitions page covers material, hardware, and floor-clearance choices. Compact Laminate wet-area warranty coverage depends on the manufacturer; the Compact Laminate tech data sheet identifies eligible manufacturers.
Floor to Ceiling requires the ceiling height at each pilaster location before fabrication. Floor-plate leveling adjustment is limited, and L brackets at both ends require field fitting. Accurate measurements establish which connection details suit the room.
The ceiling elevation and the selected connections determine pilaster sizing when partitions are mounted Floor to Ceiling. Door and panel heights follow separate material, hardware, and clearance limits. Tall or unsupported configurations need project-specific review before dimensions are finalized.
Ironwood's full-height privacy solution uses an 84″ door as its default. High Pressure Laminate and Wood Veneer doors can reach 108″, subject to door-style and hardware constraints. Those maximums do not set the standard door height for every project mounted Floor to Ceiling.
Yes, when the complete layout meets the applicable accessibility requirements. Floor to Ceiling is often specified for full-height privacy, and partitions set close to the floor may not leave the 9″ toe clearance that ADA Section 604.8.1.4 requires beneath the front partition and one side partition of an adult wheelchair compartment. Without that clearance, the compartment must be enlarged, for example to a depth greater than 62″ with a wall-hung water closet. The project design professional and the authority having jurisdiction determine compliance.
Gallery
Featured Floor to Ceiling Bathroom Stalls
View the material and door style used in each featured Floor to Ceiling project.
Flat Panel · Compact Laminate
Louver · High Pressure Laminate
Engraving · High Pressure Laminate
Louver · High Pressure Laminate
Louver · High Pressure Laminate
Applied Molding · High Pressure Laminate
Other Mounting Styles
Looking for a different mounting style?
Mounting styles differ in their floor and ceiling connections, visible hardware, and support requirements. These differences affect appearance, cleaning access, and compatibility with the building.
Ceiling Hung CH
Ceiling Hung suspends pilasters from structural support above the ceiling, leaving the floor free of partition anchors.

European
European combines a headrail with adjustable floor pedestals, providing lateral support without a ceiling connection.

Floor Mount FM
Floor Mount anchors pilasters to the floor with concealed mounting bars, leaving the space above the partitions open.

Headrail Braced HRB
Headrail Braced anchors pilasters to the floor and connects their tops to adjacent walls with a headrail for lateral stability.