Floor to Ceiling Partitions
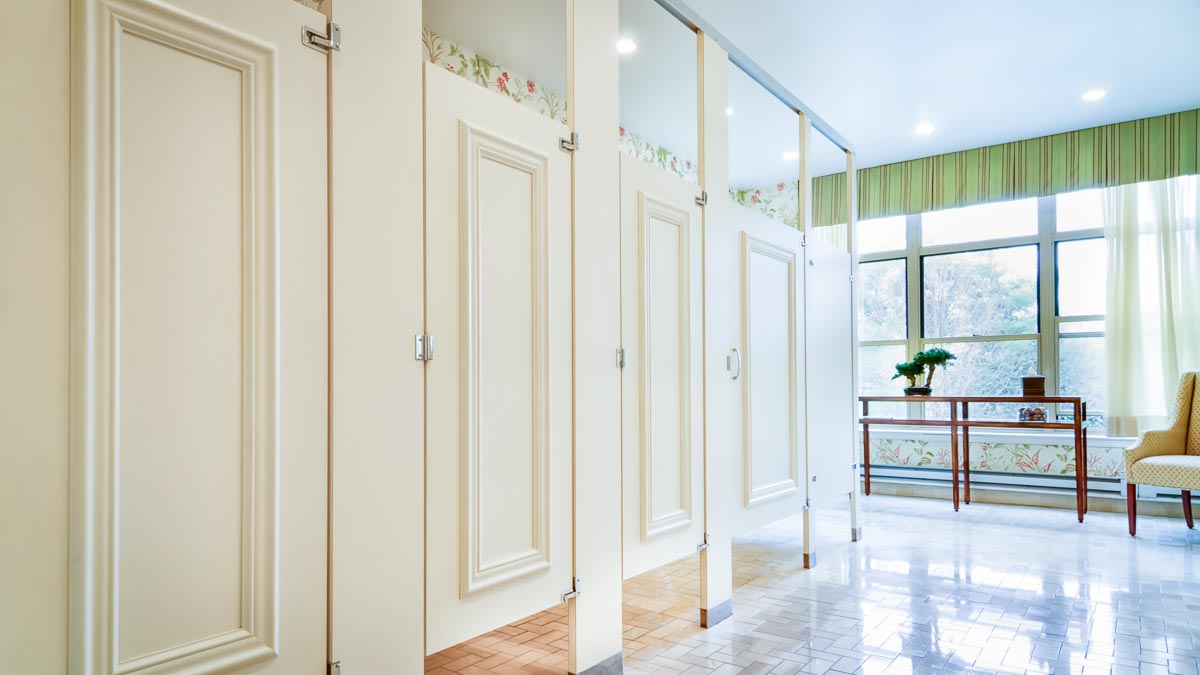
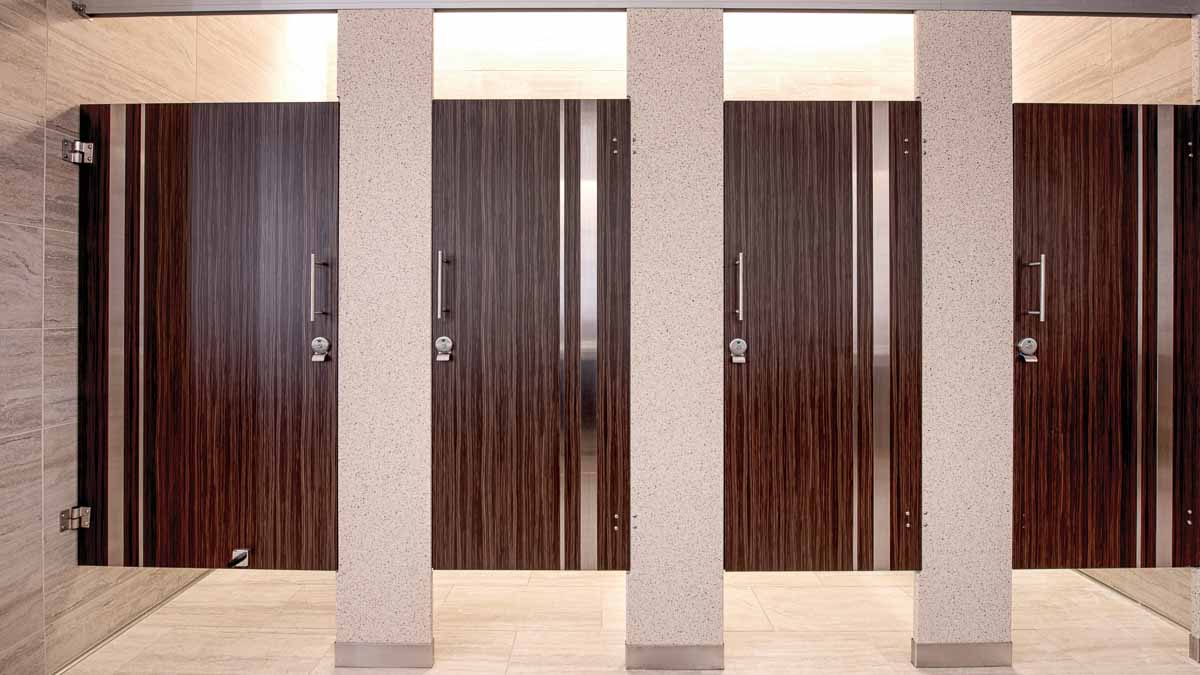
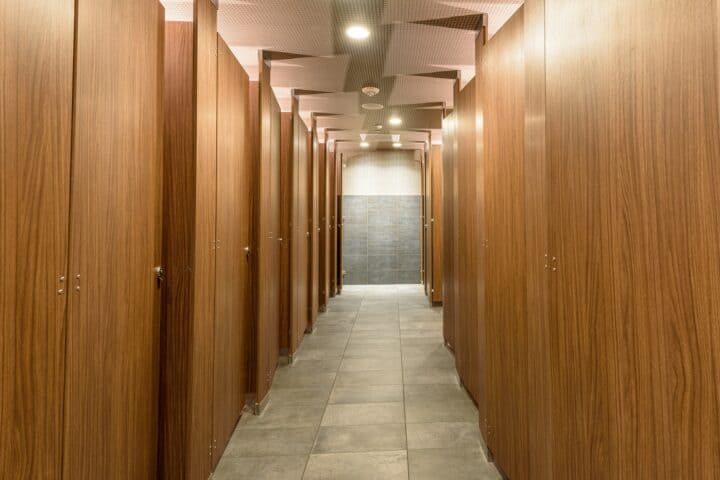
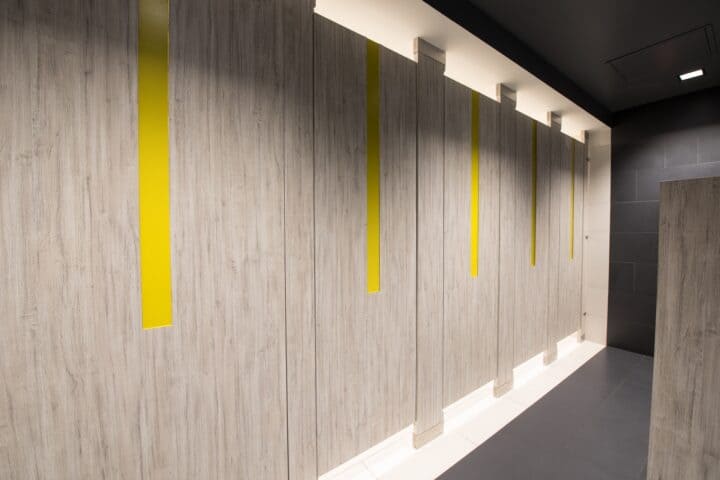
Design with Floor to CeilingFloor to ceiling partitions offer stability and durability in restrooms with low to medium height ceilings. Minimal visible hardware also enables clean design.
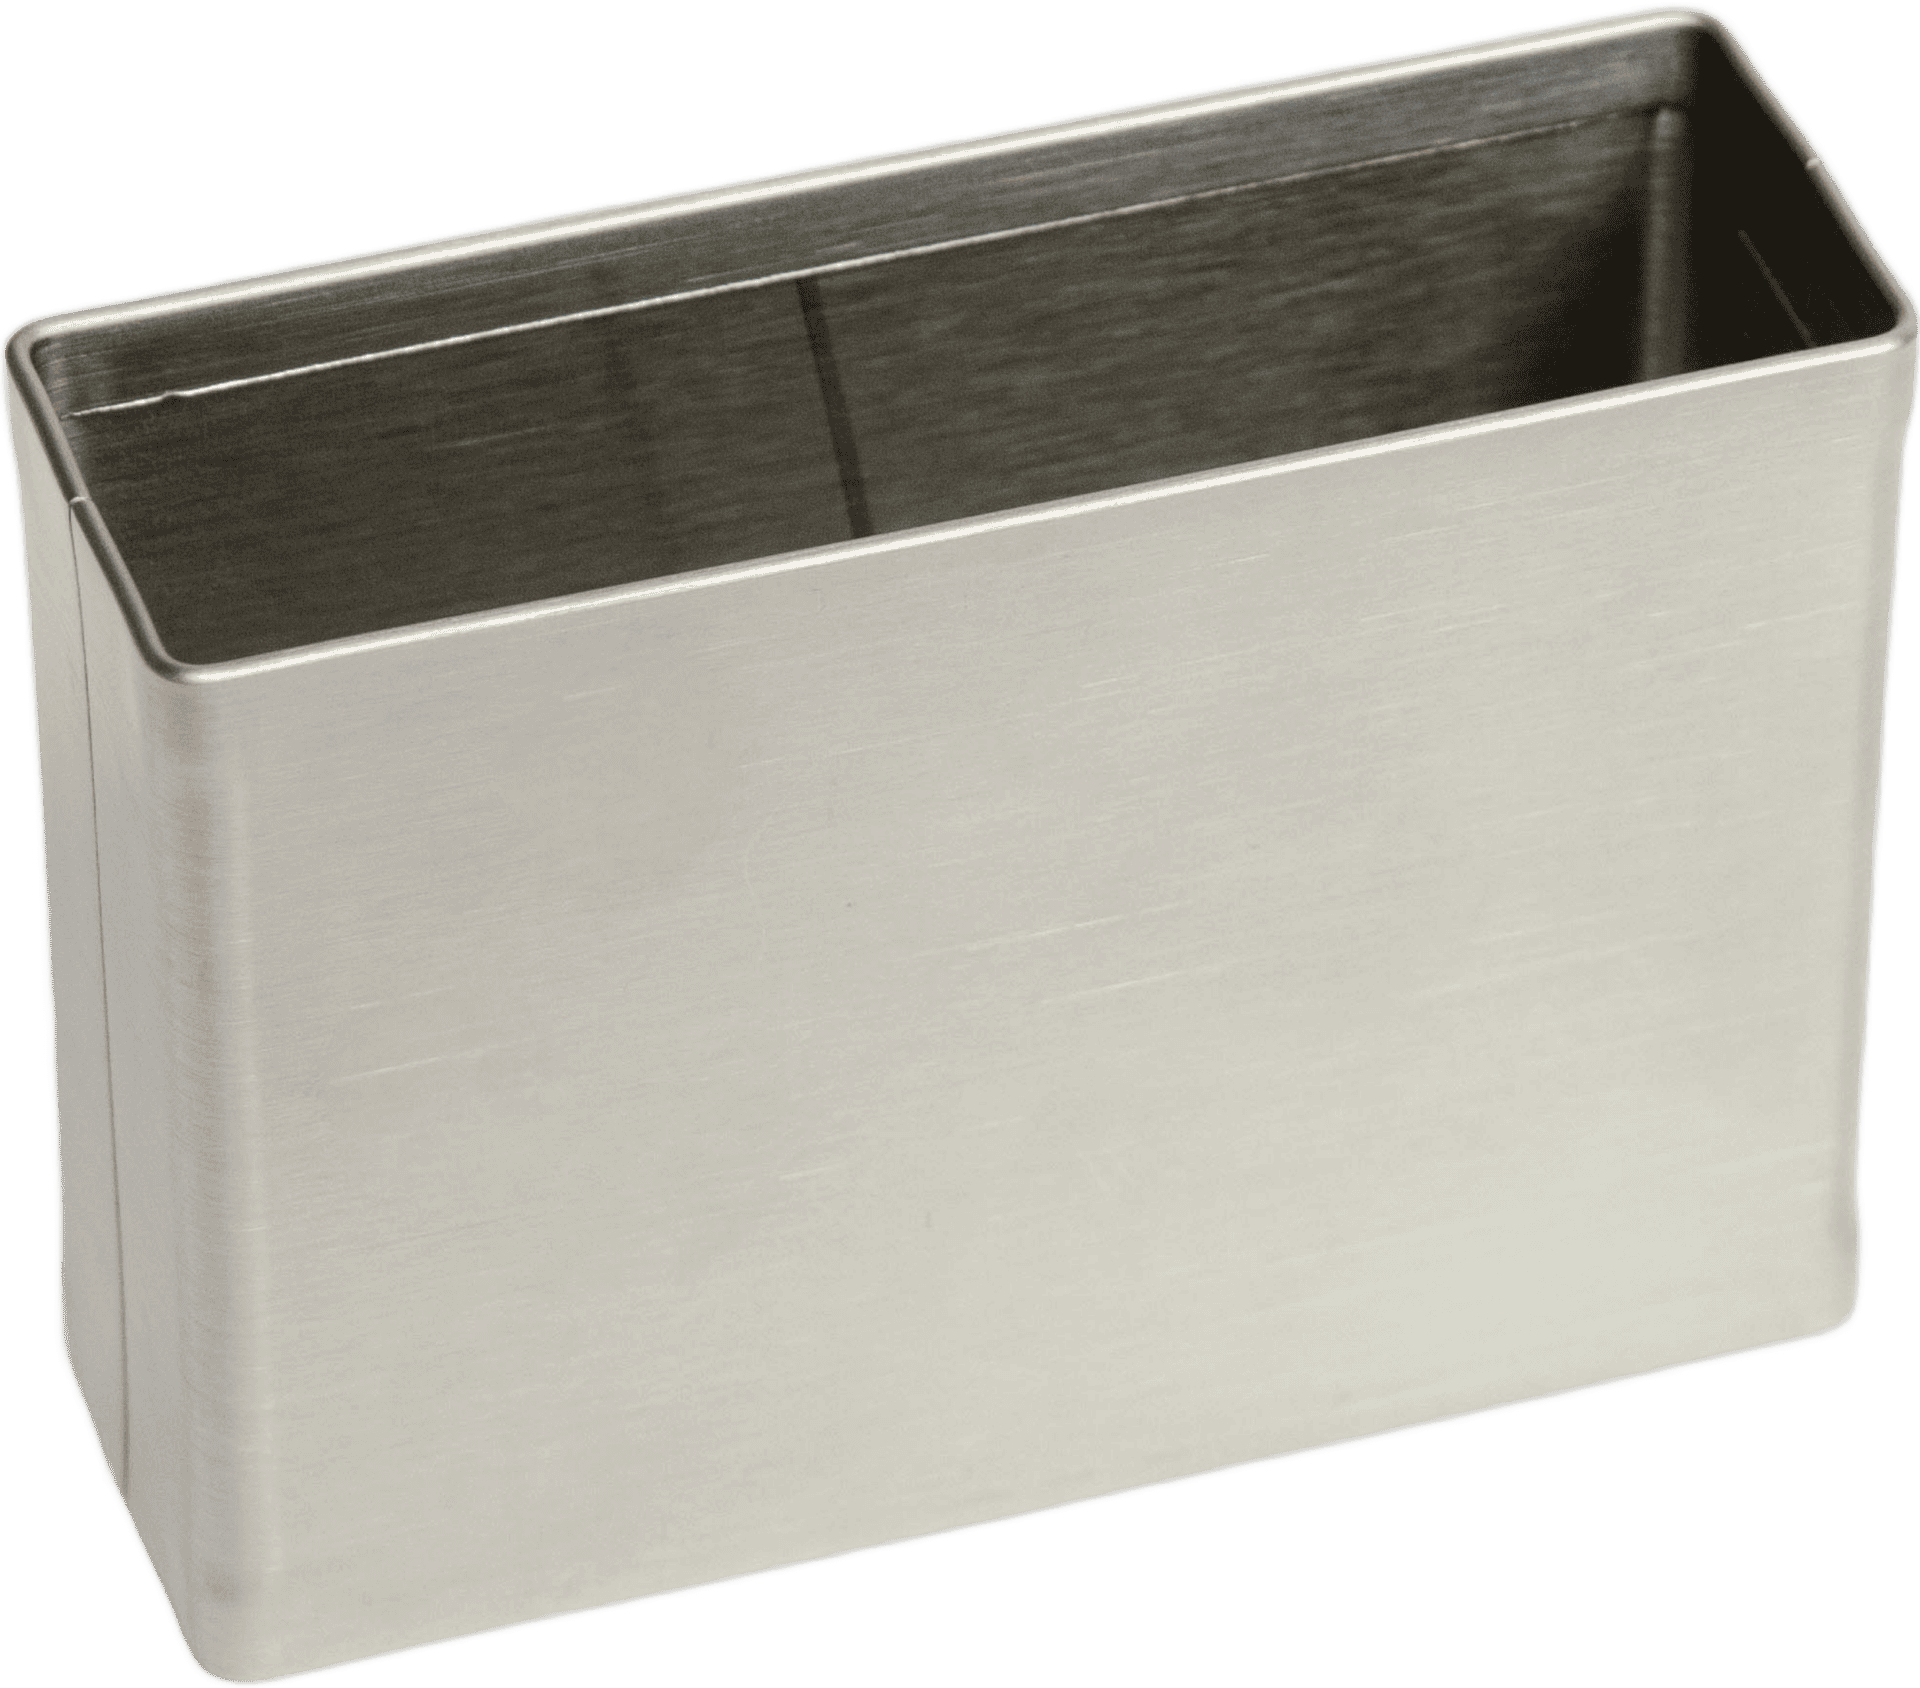
Shoe & Plate
Shoe & Plate
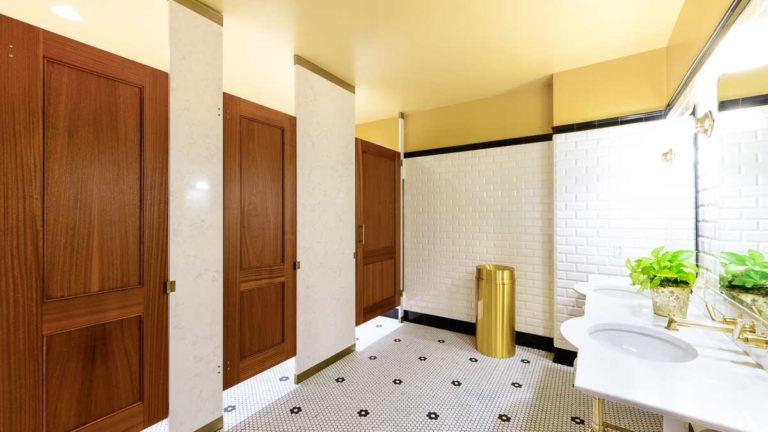
What is Floor to Ceiling?
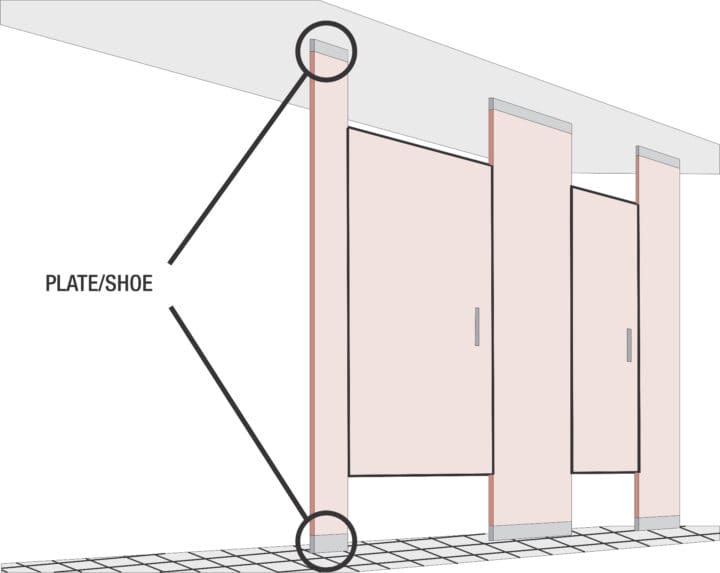
The floor-to-ceiling mounting method secures toilet partition pilasters using hardware at the floor and the ceiling. The floor connections typically use floor plates concealed by a shoe. The ceiling connections similarly use ceiling plates concealed by a shoe. Alternative connection options for the floor or the ceiling include pedestals for a Euro aesthetic and L brackets inside the pilasters for a more discrete feel.

Shoe & Plate
Mounts pilasters securely to floor or ceiling.

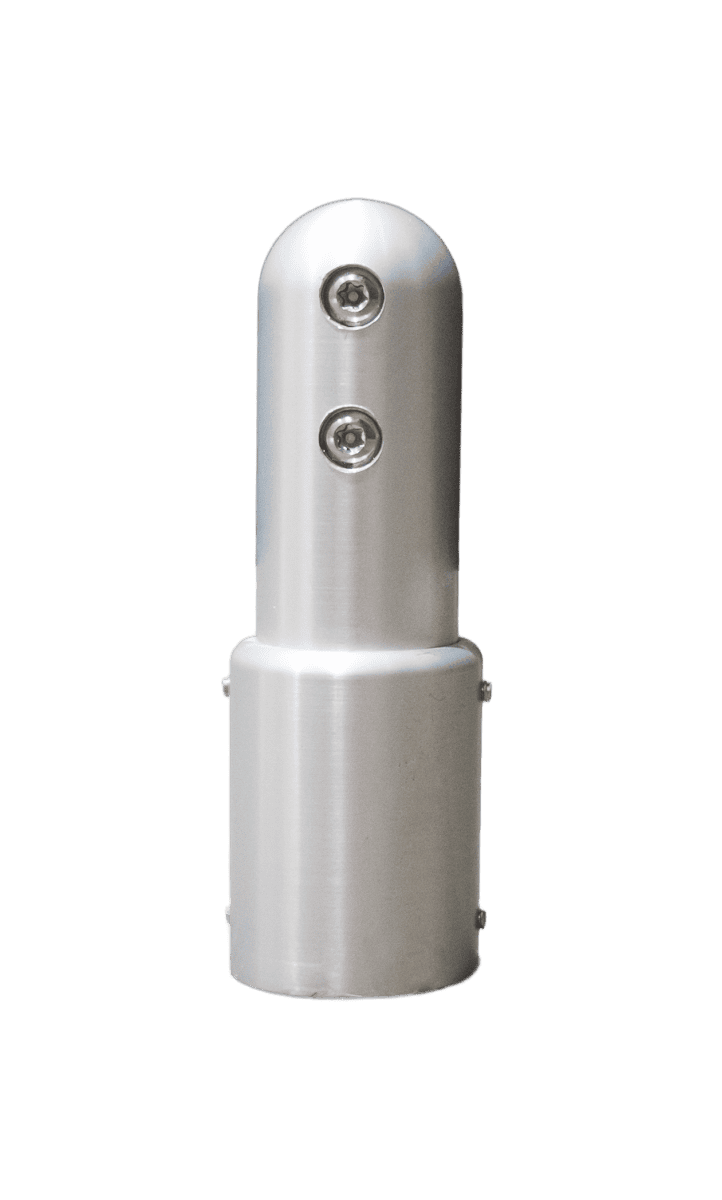
Pedestal
Secure components to the floor and the ceiling.
Compatible Materials
Materials
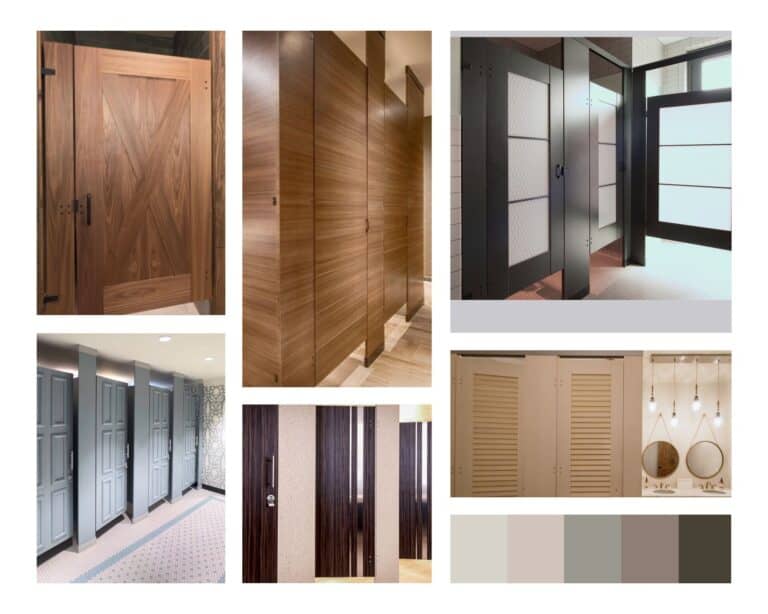
Explore our collection of material options for floor to ceiling partitions. Each choice provides unique benefits to enhance your restroom design.
Door Styles
Compatible Door Styles
Discover the range of door styles available for floor to ceiling partitions. Each option offers a distinct aesthetic, allowing you to transform the look of your space with your selection.

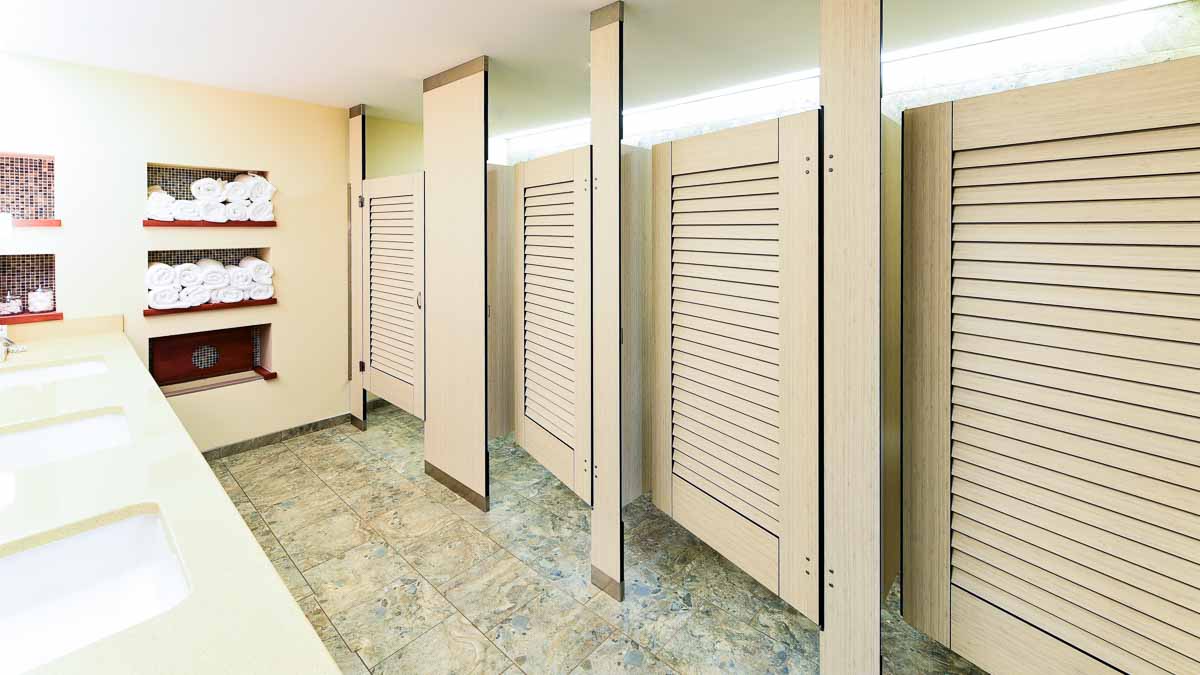
Louver
Plantation-style doors with angled slats for aesthetic appeal and airflow in restroom partitions

Molding
Decorative molding trim applied to commercial restroom partition components.

Captured Panel
Stile and rail construction with captured panel inserts and optional midrails.

Door Lite
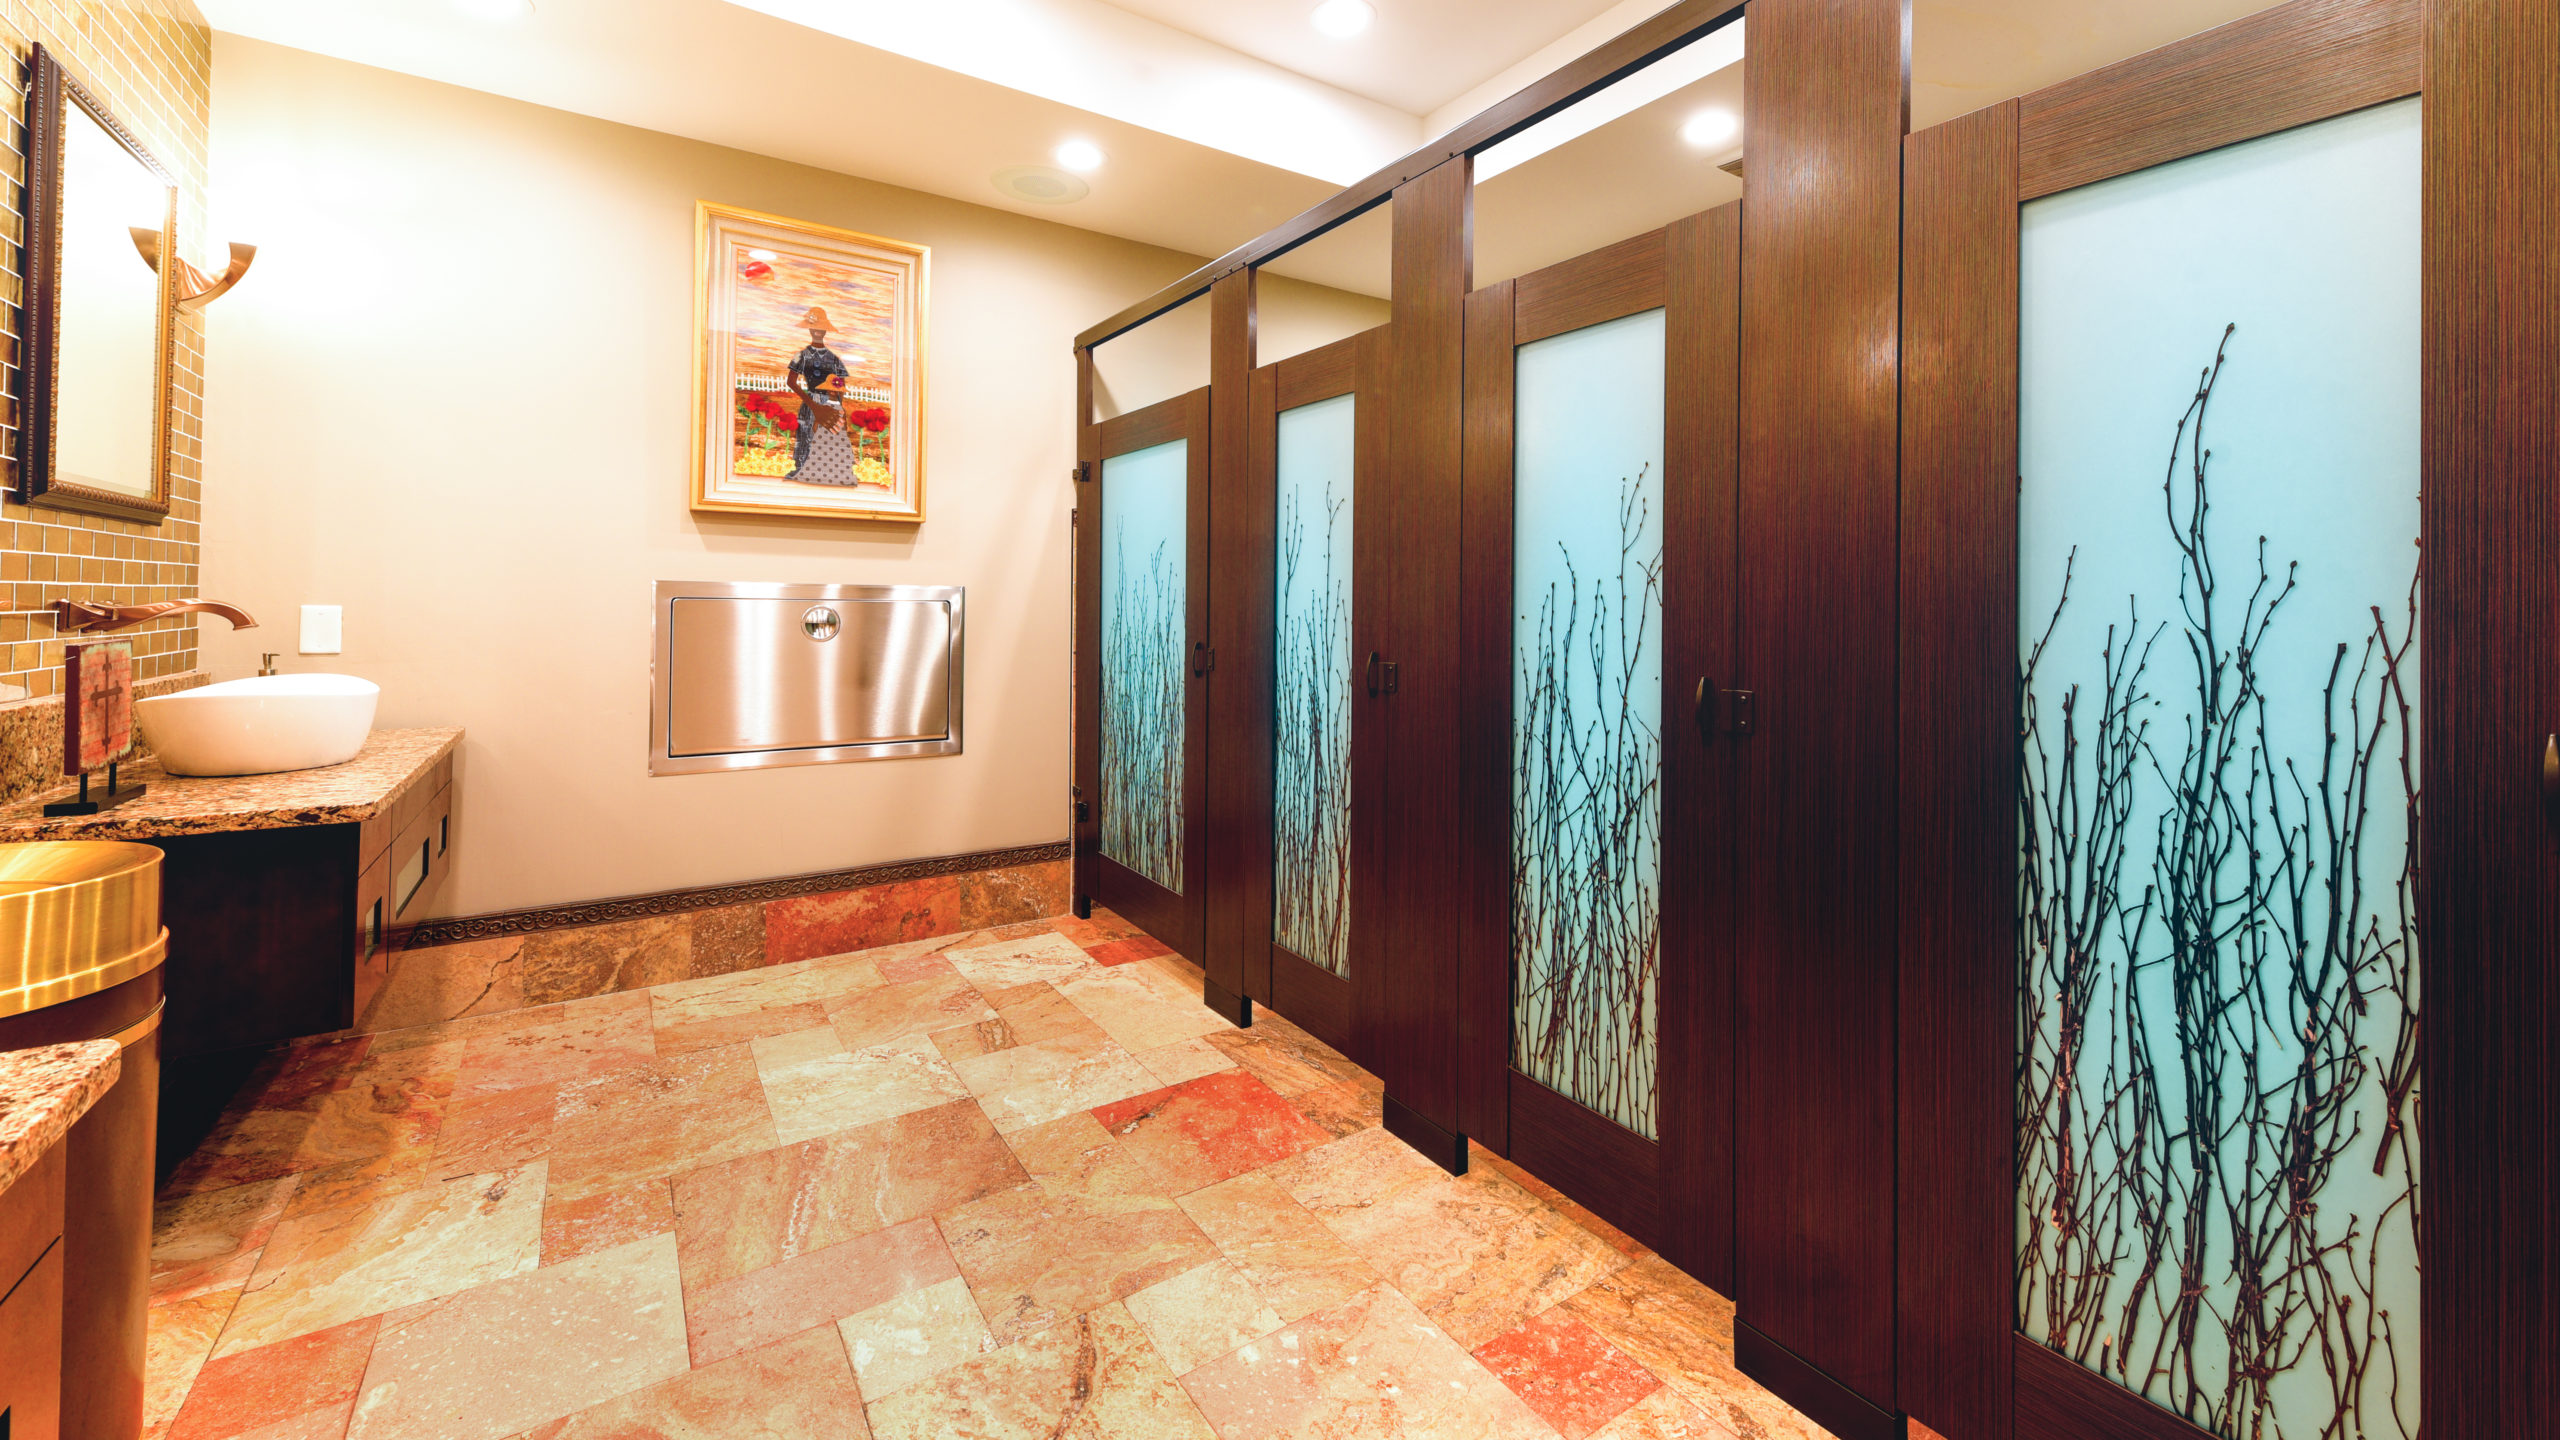
Stile and rail construction with acrylic or glass translucent inserts.

Engraving
Featuring standard or project-specific patterns cut directly into restroom partition material.

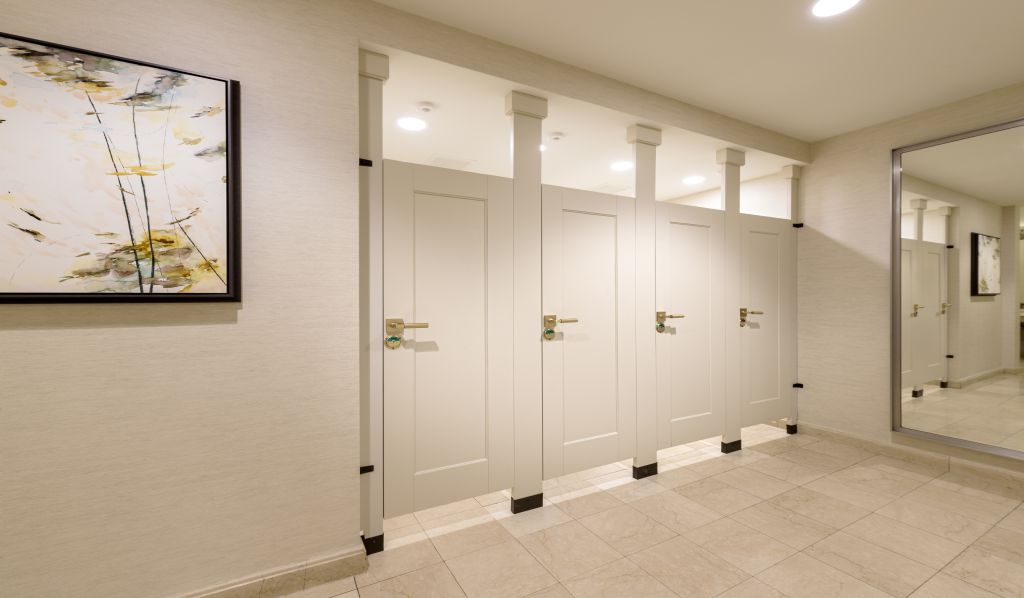
Flat Panel
Flat panel doors in a variety of materials, patterns, and finishes for commercial restroom partitions

Inlay
Doors featuring designs consisting of precisely fitted materials.
Considerations When Using Floor to Ceiling
Floor to ceiling offers numerous advantages, but certain features should be evaluated to ensure it meets your project’s requirements.
FeaturesDesign Flexibility
This mounting style offers various hardware configurations for attaching pilasters to the floor and to the ceiling. This allows for a variety of aesthetics. Explore options like L-brackets or pedestals.
Height Limitations
The maximum recommended height for the floor to ceiling mounting style is 120 inches. Taller installations are possible but may require special approval to address potential flexing issues in certain materials.
Stability and Support
The floor to ceiling mounting style provides excellent stability when used in restrooms with low to medium height ceilings. The system also offers additional support for partition components, enhancing overall structural integrity.
Ceiling Backing
The floor to ceiling mounting style requires proper structural backing in the ceiling. Suspended ceilings are not suitable unless additional appropriate structural support is in place.
Full Height Privacy
Floor to ceiling mounting allows for taller doors and panels, reducing gaps and providing increased privacy for restroom users. This feature is particularly valuable in high-traffic or open-concept spaces.
Material Selection
The choice of partition material can impact the overall stability and performance of floor to ceiling installations. Consult with Ironwood Manufacturing to determine the best material for your specific application.
How to Specify Ironwood
Follow our easy three-step process to start using Floor to Ceiling in your design:
The Process- 1
Go to the Configurator
Our configurator will help guide your choices of material, mounting style, door option, hardware, etc. to specify your toilet partitions.
- 2
Generate Your Specification
Once you have made your selections, the configurator will generate a spec and other helpful resources for you.
- 3
Contact Us With Any Questions
Call us at 360-965-6590 or email us at [email protected].
Deeper Dive & Resources
Gain a deeper understanding of Floor to Ceiling by exploring resources and expert insights.
Floor to ceiling mounting provides exceptional stability, particularly in rooms with ceiling heights of 120 inches or less. This mounting style distributes the weight and stress of the partition system between the floor and ceiling, resulting in a sturdy installation that can withstand heavy use.
High-traffic areas or areas where extra stability is desired can benefit from the added support of this mounting style. This style also eliminates the need for visible overhead bracing, making it an excellent choice for spaces where the design calls for its uniquely seamless look.
While floor to ceiling mounting offers great stability, there are important height considerations to keep in mind:
- Maximum Recommended Height: The maximum recommended height for floor to ceiling partitions is 120 inches (10 feet). This limitation prevents potential flexing issues that can occur with taller installations
- Flexing Concerns: Some pilaster configurations may begin to flex at heights over ten feet. The exact height at which flexing becomes a concern can vary depending on the material used for the partitions
- Special Approvals: Installations exceeding the 120-inch recommendation may require special approval and additional support measures to ensure stability
Proper ceiling preparation is crucial for successful floor to ceiling partition installation:
- Structural Backing: The ceiling must have adequate structural backing to support the partitions. This backing can be wood but must be securely anchored to the building structure
- Suspended Ceilings: Floor to ceiling mounting is generally incompatible with suspended (drop) ceilings without significant modifications. If working with a suspended ceiling, consult with a structural engineer to determine if reinforcement is possible or if an alternative mounting style should be considered
- Precise Measurements: Installation requires exact measurements of the floor-to-ceiling height at each pilaster location, as variations in ceiling height are common
Floor to ceiling mounting offers various hardware configurations to suit different design aesthetics:
- Standard Configuration: The standard mounting hardware includes mounting plates and shoes at both the floor and ceiling connections
- L-bracket Alternative: L-brackets can be used at the top and bottom for a minimalist look. Note however – if L-brackets are selected for both the floor and the ceiling, field adjustments (cutting the pilaster) will be necessary. This is because L-brackets, unlike pedestals and other mounting hardware, do not have built-in adjustability. Additionally, note that L-brackets have through-bolt fasteners that are visible from the front of the partitions
- Pedestal Alternative: Pedestal mounts can be incorporated at the top and bottom for easier cleaning and a modern appearance
- Combinations: Combinations of different hardware types can be used to achieve specific design goals
The choice of partition material can affect the performance and appearance of floor to ceiling installations:
- Flexing Resistance: Some materials, like compact laminate (solid phenolic), may resist flexing better than others at greater lengths
- Weight: Heavier materials may require additional ceiling support or may limit maximum installation height
- Aesthetics: The look of specific materials when extended from floor to ceiling should be factored into final decisions, especially in terms of joint lines and overall visual impact
Frequently Asked Questions
Are there any special considerations for tall pilasters in floor to ceiling installations?
Pilasters over 102 inches without perpendicular attachments may require additional support to prevent flexing. Solutions include adding a return headrail or attaching an aluminum post to the pilaster.
What materials are available for floor to ceiling partitions?
Floor to ceiling partitions can be fabricated using various materials including compact laminate, high pressure laminate (HPL), wood veneer, solid surface, and engineered stone. Each material offers different aesthetic and performance characteristics.
How does the choice of material affect the performance of floor to ceiling partitions?
Material selection impacts factors such as durability, moisture resistance, and overall weight. For example, compact laminate offers excellent moisture resistance, while wood veneer provides a premium aesthetic. Consult with Ironwood Manufacturing to determine the best material for specific project requirements.
Are floor to ceiling partitions ADA compliant?
Floor to ceiling partitions can be designed to meet ADA requirements. Ensure proper stall sizes, door widths, floor gaps, and hardware placement are specified to comply with accessibility standards.
What is the maximum height for floor to ceiling partitions?
The standard maximum height for floor to ceiling partitions is 120 inches. Installations exceeding this height may require special engineering approval to ensure stability and safety.
Do floor to ceiling partitions require special ceiling support?
Yes, floor to ceiling partitions need proper backing in the ceiling. Wood backing is acceptable if securely anchored. For suspended ceilings, ensure structurally anchored backing is in place.
How do floor to ceiling partitions compare to other mounting styles in terms of stability?
Floor to ceiling partitions offer superior stability compared to other mounting styles due to their dual anchor points at both the floor and ceiling. This makes them ideal for high-traffic or vandalism-prone environments.
Can floor to ceiling partitions be installed with different hardware options?
While plates and shoes are the standard hardware for floor and ceiling connections, Ironwood Manufacturing offers various hardware combinations to meet specific project needs. Designers should consult with Ironwood for custom options.

If you can’t find the answer you’re looking for, feel free to reach out to us directly and we’ll be happy to assist you!
Featured Floor to Ceiling Bathroom Stalls
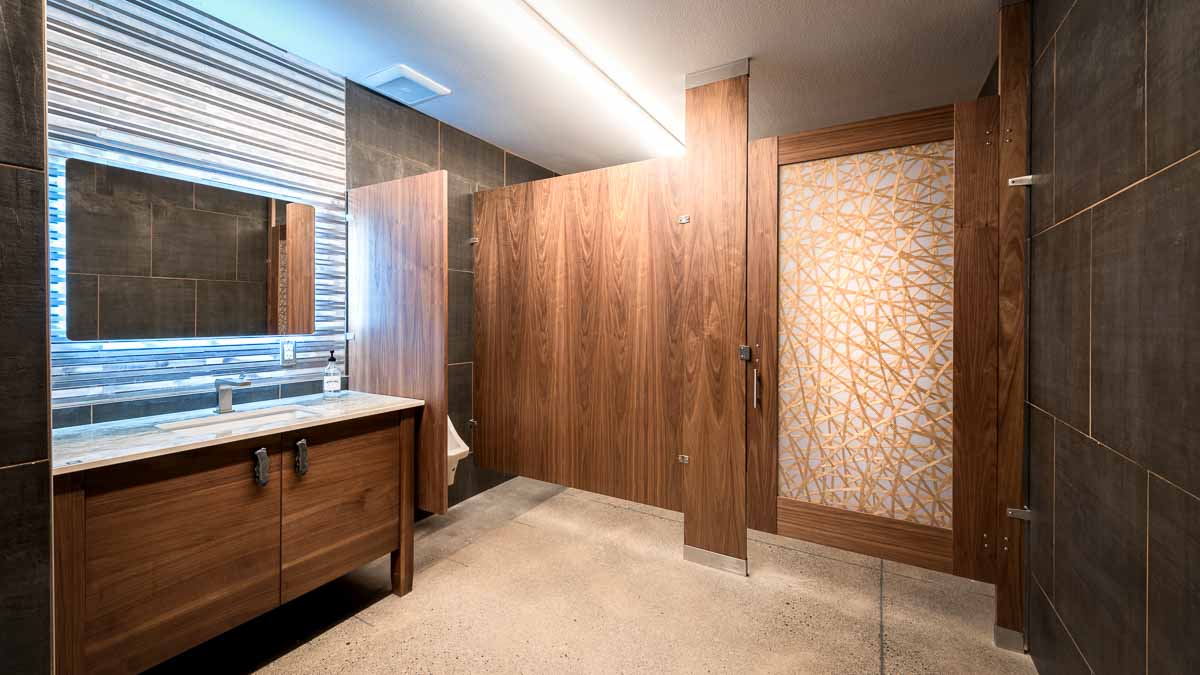
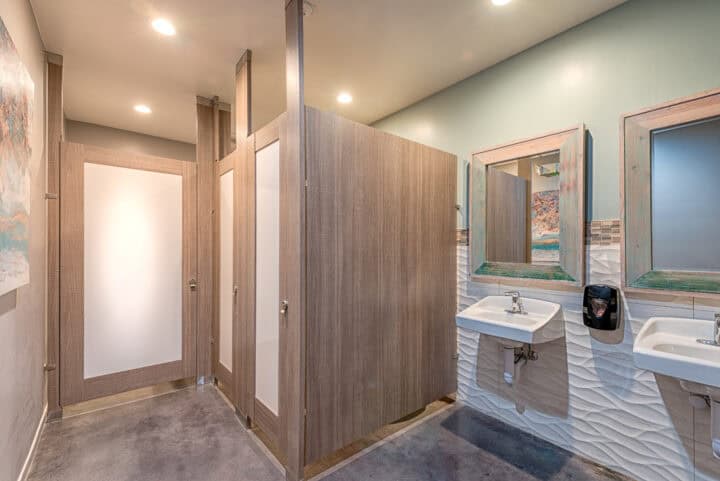
GalleryBrowse through examples of floor to ceiling bathroom stalls, highlighting their aesthetic appeal and practical benefits.
Explore Portfolio